Michigan Beekeepers Association |
In the Beekeeper's WorkshopSubmitted by: Steve Tilmann |
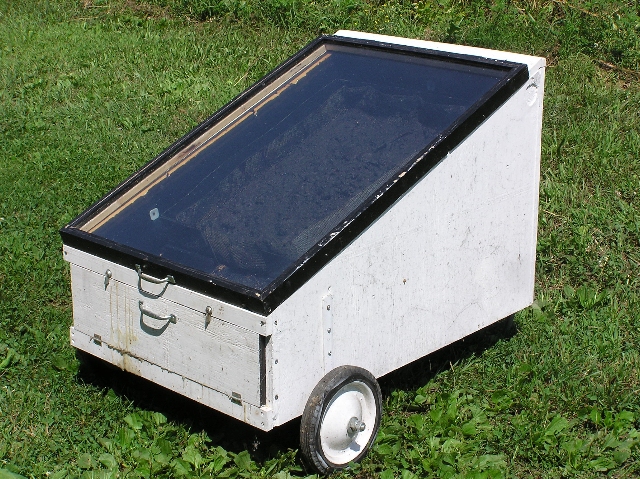
| Solar Wax Melter With this gadget, you can load it up with your rinsed, raw wax, put it in the sun and then go attend to your other business. You don’t have to worry about anything catching fire and the job will be done at the end of the day. As an added benefit, your wax will come out in near pristine condition since virtually all of the bug parts and other debris will be caught in the wax melter’s wire basket. Download Plans |
|
Honey Bucket Heater
A fact of life that all beginning beekeepers learn is that honey will sooner or later crystallize. Because honey is a supersaturated sugar solution, crystallization is, after all, a natural process. Some honeys will crystallize a lot faster than others. We find, for example, that our fall honey crystallizes much faster than our summer honeys, sometimes within a few weeks after extraction. Whether you store honey in buckets, jars or squeeze bears, you will need some means to reliquify your honey. The heater presented in these plans may be just what you need. |
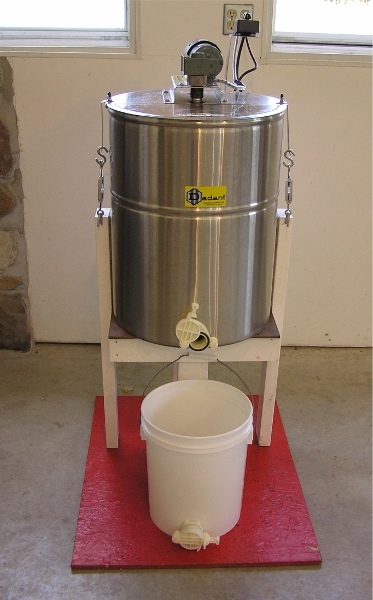
| Extractor Stand Sooner or later even a hobbyist beekeeper will consider the purchase of a honey extractor. These gadgets are well worth the investment. All extractors have a stand which can be purchased separately. However, an excellent honey extractor stand can be inexpensively built in your workshop in just a few hours and it will give good service. Download Plans |
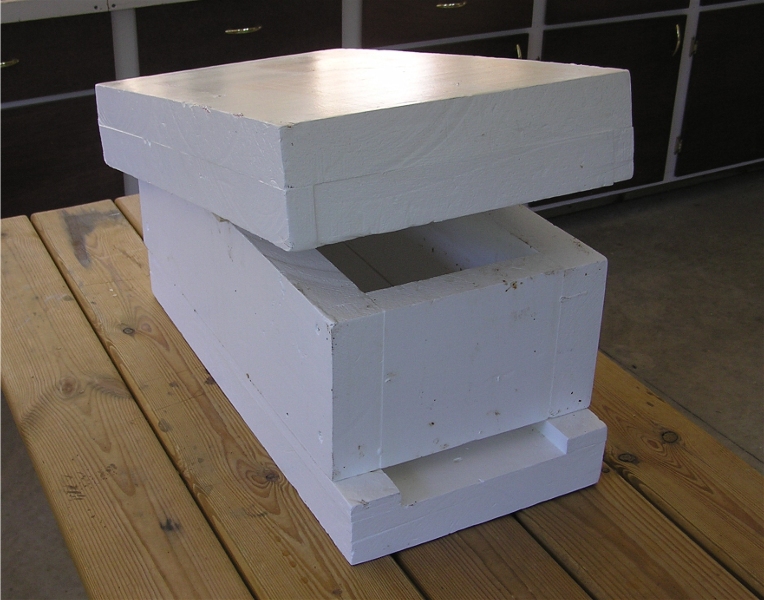
| Styrofoam ® Nuc This design for a Styrofoam nuc box is easy to build, light weight, inexpensive and surprisingly durable. We run medium depth supers in our operation, so the plans presented are for a medium depth box. However, you can easily modify this plan for a full depth box – or even a shallow. Download Plans |
| Hive Stand This design is one in a series for building a complete hive. The hive stand is the bottom-most component of your bee hive. Two versions are described: a standard hive stand and a hive stand when using a screened bottom board. Download Plans |
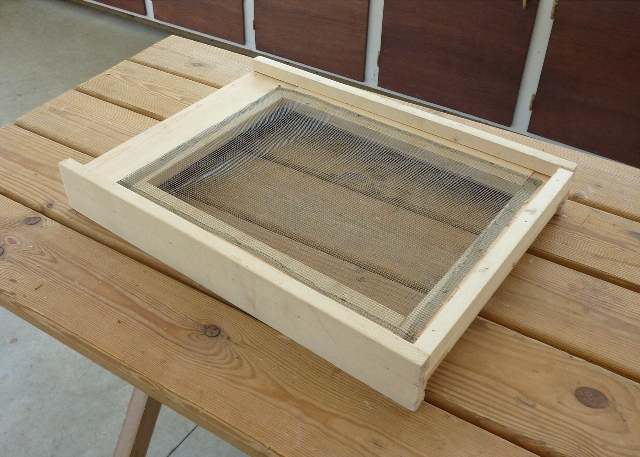
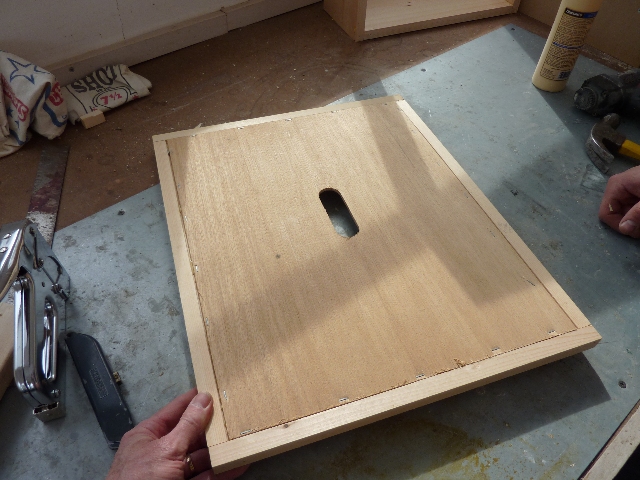
| Screened Bottom Board As the name implies, a bottom board sits at the bottom of the hive; it is the floor of the hive. Times were when the platform was solid, but since the arrival of the varroa mite and the concept of integrated pest management (IPM) the screened bottom board has become more popular. Here is a plan on how to build one. Download Plans |
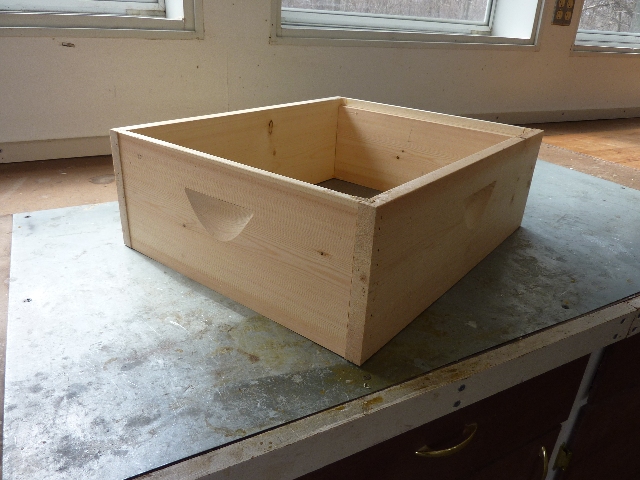
| Hive Bodies The hive body is the heart of a managed bee hive colony. It is where the queen lays her eggs, the house bees raise the brood and the workers store the pollen and nectar (converted to honey). This plan shows you how to build a strong, durable hive body, including a “professional” looking scalloped hand hold. Download Plans |
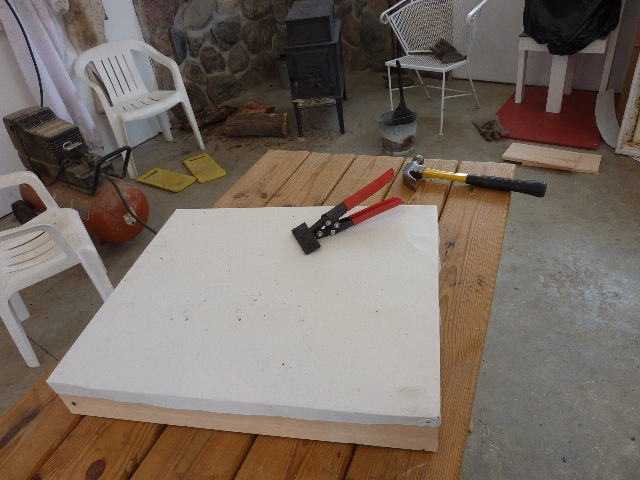
| Inner Cover The inner cover sits on top of the topmost hive body (super) and underneath the telescoping top cover. The purpose of an inner cover is to provide the correct bee space on the top hive body and provide good air ventilation within the hive. Download Plans |
| Telescoping Top Cover The telescoping hive cover is what keeps the weather and elements out of your bee hive; it is like the roof of your house. This plan shows you how to make an aluminum metal cladding that adds durability and rain-proofing. The metal cover greatly extends the life of the hive cover. Download Plans |
| Hive Body Hand Holds (Video Only) This video describes how to make the “commercial style” scalloped hand holds in the hive bodies. Hive bodies are the wooden boxes used for both the brood chamber and the honey supers. Run time approximately 15 minutes. |
 | Sugar Dusting/Feeding Frame When winter feeding your bees sugar candy, spring or fall feeding sugar syrup using the baggie method or summer sugar dusting for mite control, you will need a frame to do the job. This video describes how to make a “3-in-1” frame that can do all three jobs. Run time is approximately 15 minute 40 seconds. Video: Sugar-Duster-Feeder |
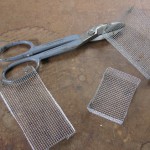
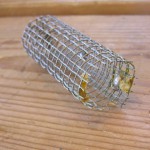 | Queen Cell Protector Cage The queen cell protector cage is a simple tubular gadget made out of #8 hardware cloth. The cage is about the size and shape of a hair curler. The cage is used on a grafting bar to protect the developing cells after the nurse bees have fully capped the queen cells. This cage can also be used to protect queen cells naturally drawn out by the bees. The cage lets you easily find the new queen and protects her from marauding from other queens. Video: Three ten minute projects |
| Pocket Queen Cage When working with bees, you never know when you will need to cage a queen and move her to a new hive. Here is a simple cage that you can use whenever the need arises to capture or move a queen. The pocket queen cage, also called a Butler cage, is a handy gadget that every beekeeper should have. Download Plans |
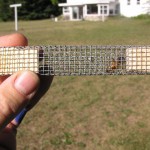
| Queen Introduction Cage The queen introduction cage, sometimes called a push in cage, is a simple, small rectangular wire mesh box that is pushed into the comb in order to confine or protect the queen. Some beekeepers think that using a push in cage is the best way to introduce a new queen into a colony. If you only were to make one type of queen cage, then the queen introduction cage is clearly the one. Download PlansVideo: Three ten minute projects |
| How to Make a Queen Marking Cup A queen marking cup is a simple gadget that you use to mark a queen. The marking cup makes an otherwise “delicate” operation a simple and quick job. Even if you don’t raise your own queens, you never know when the need will arise when you need to mark a queen. The marking cup described in these plans (and the companion video) uses recycled material and will probably take less than 10 minutes to make. |
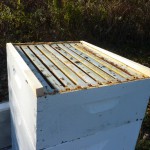
| Hive Top Ventilation Shims Hive top ventilation shims are a simple way to deal with moisture inside the hive during the winter months. The tapered shims sit on the topmost hive body just under the inner cover. The shims are easy to make and quick to install. Though you may think that making these simple shims is easy, there is a bit more to it than meets the eye. The key is using a taper jig, which these plans described (and the companion) video. Once you have the jig, making the shims is a snap. |
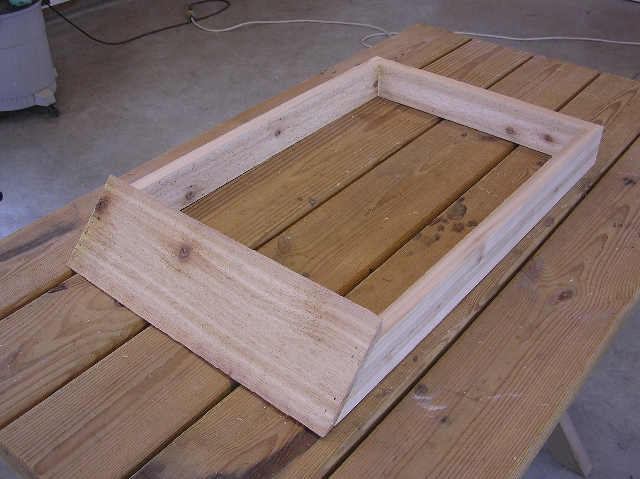
| Making Imirie Shims An Imirie Shim is a gadget developed by George Imirie, a well known beekeeper in the Northeast. It is a simple 3/4-inch rectangular frame that is the same size (width and length) as a honey super (Figure 1). The shim has a 3/4-inch notch cut 3/8 -inch deep in the middle of the front end bars. The idea is that the shim can be placed between any of the honey supers to allow for additional access for foraging bees. Since the shim also provides additional ventilation, you can place it on top of (or under) the inner cove to allow a place for moisture to leave the hive. The shim is a simple idea, but it really works. We view the shim as essential equipment in our bee yards and use several per hive. Because these shims work and are so handy, you may want to consider making a couple for each hive that you have. Download Plans |
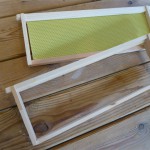
| Making Frames The movable frames are the essence of a modern day hive. The frame holds foundation upon which the bees draw out the comb – the single most recognizable feature of a bee hive. This simple device allows beekeepers to remove honey from the hive (without the need of destroying the colony) and permits inspections and manipulations that are required to meet the challenges of keeping bees. The downloaded plans take you step by step building a quality frame. In addition, the plans include an appendix on how to safely make thin cuts on the table saw and a scaled template to make a set of push sticks (essential shop safety equipment). The accompanying video is presented in two parts and provides the visual experience of making frames. Download Plans |
| Mini-Nucs A Mini-nuc is a tiny version of a standard Langstroth hive. Yet these tiny hives have big potential in your bee yard. These plans include a survey of the topic, exploring the “whats”, “whys” and “hows” of using a mini-nuc to queen rearing, splits, divides and more. The second part of the plans provide details on making the four major components of a mini-nuc: the screened bottom board, 4-chambered hive body, the mini-frames and the inner hive cover. Download Plans |

